Building and Running ExecuTorch on Xtensa HiFi4 DSP
In this tutorial we will walk you through the process of getting setup to build ExecuTorch for an Xtensa Hifi4 DSP and running a simple model on it.
The Xtensa HiFi4 DSP is a DSP built by Cadence that is optimized for running audio based Neural networks such as wake word detection, Automatic speech recognition (ASR) etc. The HiFi NN library offers an optimized set of library functions commonly used in NN processing that we utilize in this example to demonstrate how these operations can be accelerated.
On top of being able to run on the Xtensa HiFi4 DSP another goal of this tutorial is to demonstrate how portable ExecuTorch is and its ability to run on a low-power embedded device such as the Xtensa HiFi4 DSP.
In this tutorial you will learn how to export a quantized model with linear and batch norm ops targeted for the Xtensa HiFi4 DSP.
You will also learn how to compile and deploy the ExecuTorch runtime with the kernels required for running the quantized model generated in the previous step on the Xtensa HiFi4 DSP.
Prerequsites (Hardware and Software)
In order to be able to succesfully build and run ExecuTorch on a Xtensa HiFi4 DSP you’ll need the following hardware and software components.
Hardware
Software
x86-64 Linux system (For compiling the DSP binaries)
-
This IDE is supported on multiple platforms including MacOS. You can use it on any of the supported platforms as you’ll only be using this to flash the board with the DSP images that you’ll be building later on in this tutorial.
-
Needed to flash the board with the firmaware images. You can install this on the same platform that you installed the MCUXpresso IDE on.
-
Download this SDK to your Linux machine, extract it and take a note of the path where you store it. You’ll need this later.
-
Download this to your Linux machine. This is needed to build ExecuTorch for the HiFi4 DSP
Setting up Developer Environment
Step 1. In order to be able to successfully install all the software components specified above users will need to go through the NXP tutorial linked below. Although the tutorial itself walks through a Windows setup, most of the steps translate over to a Linux installation too.
NXP tutorial on setting up the board and dev environment.
Note
Before proceeding forward to the next section users should be able to succesfullly flash the dsp_mu_polling_cm33 sample application from the tutorial above and notice output on the UART console indicating that the Cortex-M33 and HiFi4 DSP are talking to each other.
Step 2. Make sure you have completed the ExecuTorch setup tutorials linked to at the top of this page.
Build
AOT (Ahead-of-time) Components
ExecuTorch Program generation:
In this step, you will generate a simple ExecuTorch program that does an an add operation. You’ll then use this Program(the
.ptefile) during the runtime build step to bake this Program into the DSP image.
cd executorch
python3 -m examples.export.export_example --model_name="add"
Runtime
Building the DSP firmware image
In this step, you’ll be building the DSP firmware image that consists of the sample ExecuTorch runner along with the Program generated from the previous step. This image when loaded onto the DSP will run through the simple add model that this Program consists of.
Step 1. Configure the environment variables needed to point to the Xtensa toolchain that you have installed in the previous step. The three environment variables that need to be set include:
# Directory in which the Xtensa toolchain was installed
export XTENSA_TOOLCHAIN=/home/user_name/xtensa/XtDevTools/install/tools
# The version of the toolchain that was installed. This is essentially the name of the directory
# that is present in the XTENSA_TOOLCHAIN directory from above.
export TOOLCHAIN_VER=RI-2021.8-linux
# The Xtensa core that you're targeting.
export XTENSA_CORE=nxp_rt600_RI2021_8_newlib
Step 2. Run the CMake build. In order to run the CMake build, you need the path to the following:
The Program generated in the previous step
Path to the NXP SDK root. This should have been installed already in the Setting up Developer Environment section. This is the directory that contains the folders such as boards, components, devices, and other.
cd executorch
mkdir cmake-xt
cd cmake-xt
cmake -DCMAKE_BUILD_TYPE=Release -DCMAKE_TOOLCHAIN_FILE=../examples/xtensa/xtensa.cmake -DMODEL_PATH=<path_to_program_file_generated_in_previous_step> -DNXP_SDK_ROOT_DIR=<path_to_nxp_sdk_root> -DEXECUTORCH_BUILD_FLATC=0 -DFLATC_EXECUTABLE="$(which flatc)" ..
cd ..
cmake --build cmake-xt -j9 -t xtensa_executorch_example
After having succesfully run the above step you should see two binary files in their CMake output directory.
> ls cmake-xt/*.bin
cmake-xt/dsp_data_release.bin  cmake-xt/dsp_text_release.bin
Deploying and Running on Device
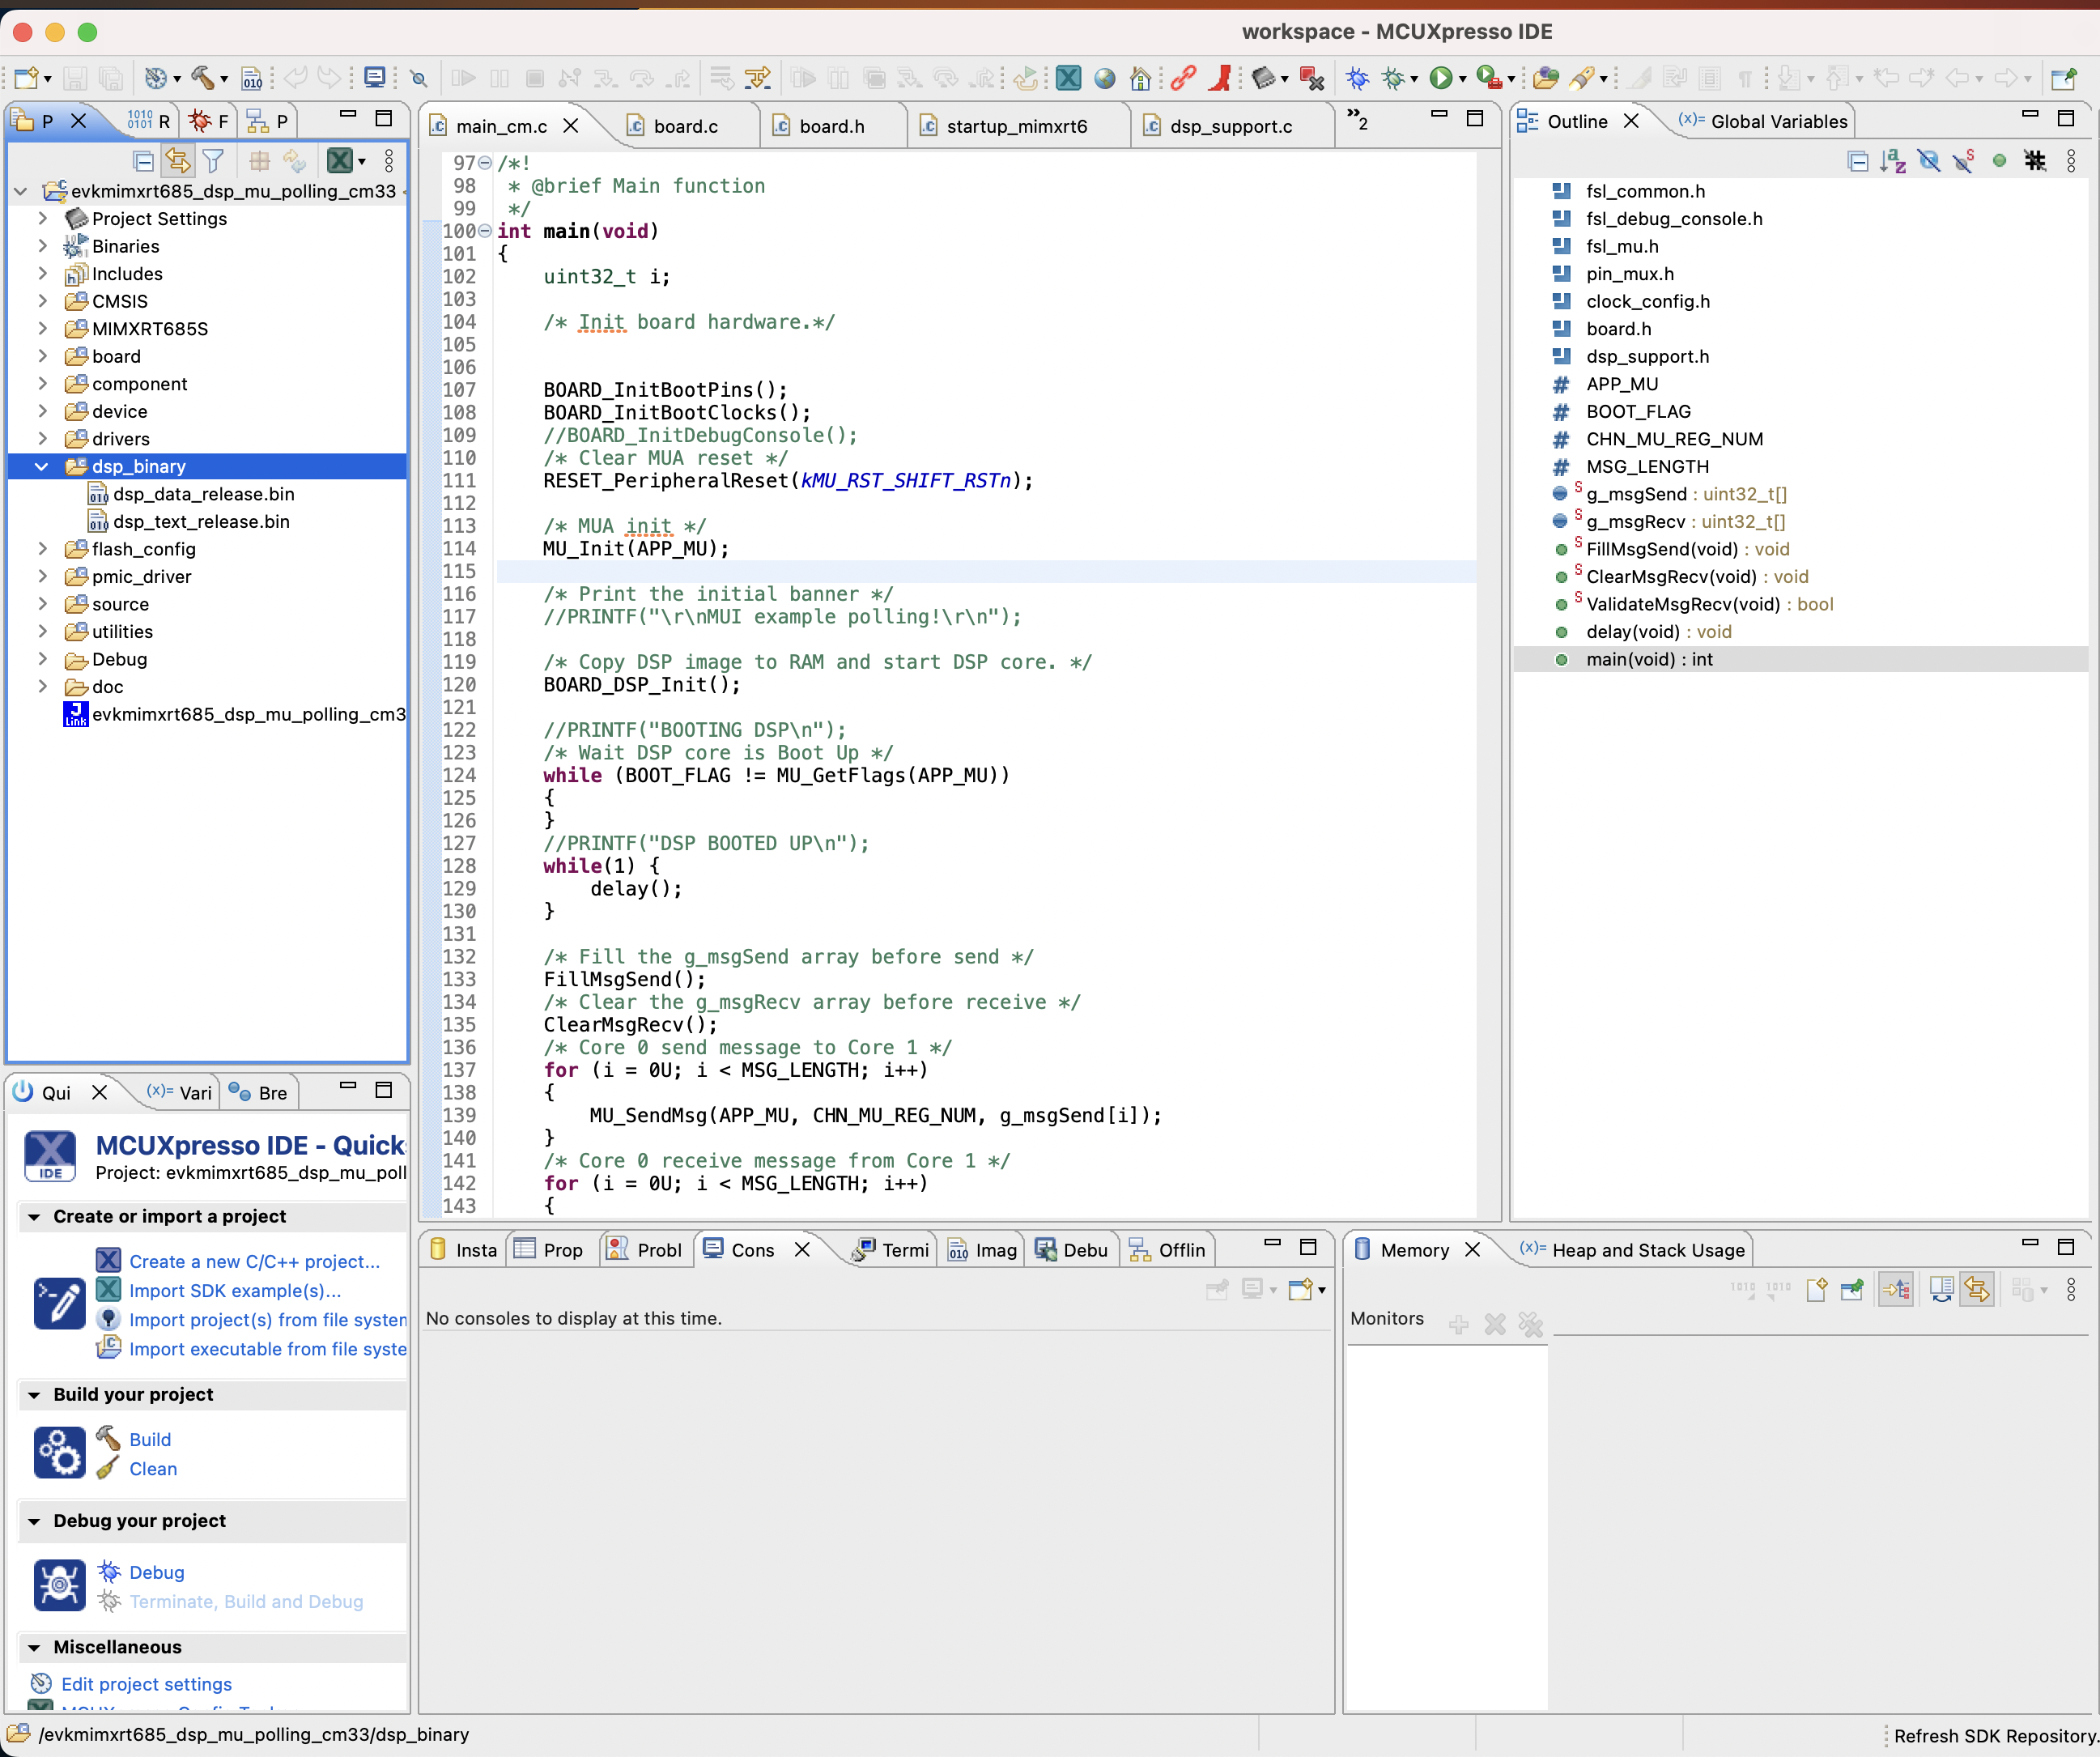
Step 1. You now take the DSP binary images generated from the previous step and copy them over into your NXP workspace created in the Setting up Developer Environment section. Copy the DSP images into the dsp_binary section highlighted in the image below.
Step 2. Clean your work space
Step 3. Click Debug your Project which will flash the board with your binaries.
On the UART console connected to your board (at a default baud rate of 115200), you should see an output similar to this:
> screen /dev/tty.usbmodem0007288234991 115200
Booted up in DSP.
ET: Model buffer loaded, has 1 methods
ET: Running method forward
Method loaded.
Starting the model execution...
Model executed successfully.
In this tutorial, you have learned how to export a quantized model, build the ExecuTorch runtime and run this model on the Xtensa HiFi4 DSP.
